Creating Your First Assignment
Learn how to create effective assignments in Caliper with proper configuration for AI marking and student submission tracking.
🎥 Video Tutorial: Creating Assignments
Watch this 4-minute guide showing the complete assignment creation process:
What's covered:
- Basic assignment information
- Class and rubric selection
- Configuration for AI marking
- Publishing to students
Overview
Assignments are the core of the Caliper platform. This guide will walk you through creating your first assignment with all the essential settings configured correctly.
Prerequisites
Before creating an assignment, ensure you have:
- ✅ At least one class created
- ✅ A rubric prepared (optional but recommended)
- ✅ Clear assignment requirements defined
Step-by-Step Guide
Step 1: Navigate to Assignments
- Log in to your Caliper account
- Click Assignments in the sidebar
- Click the + Create New Assignment button
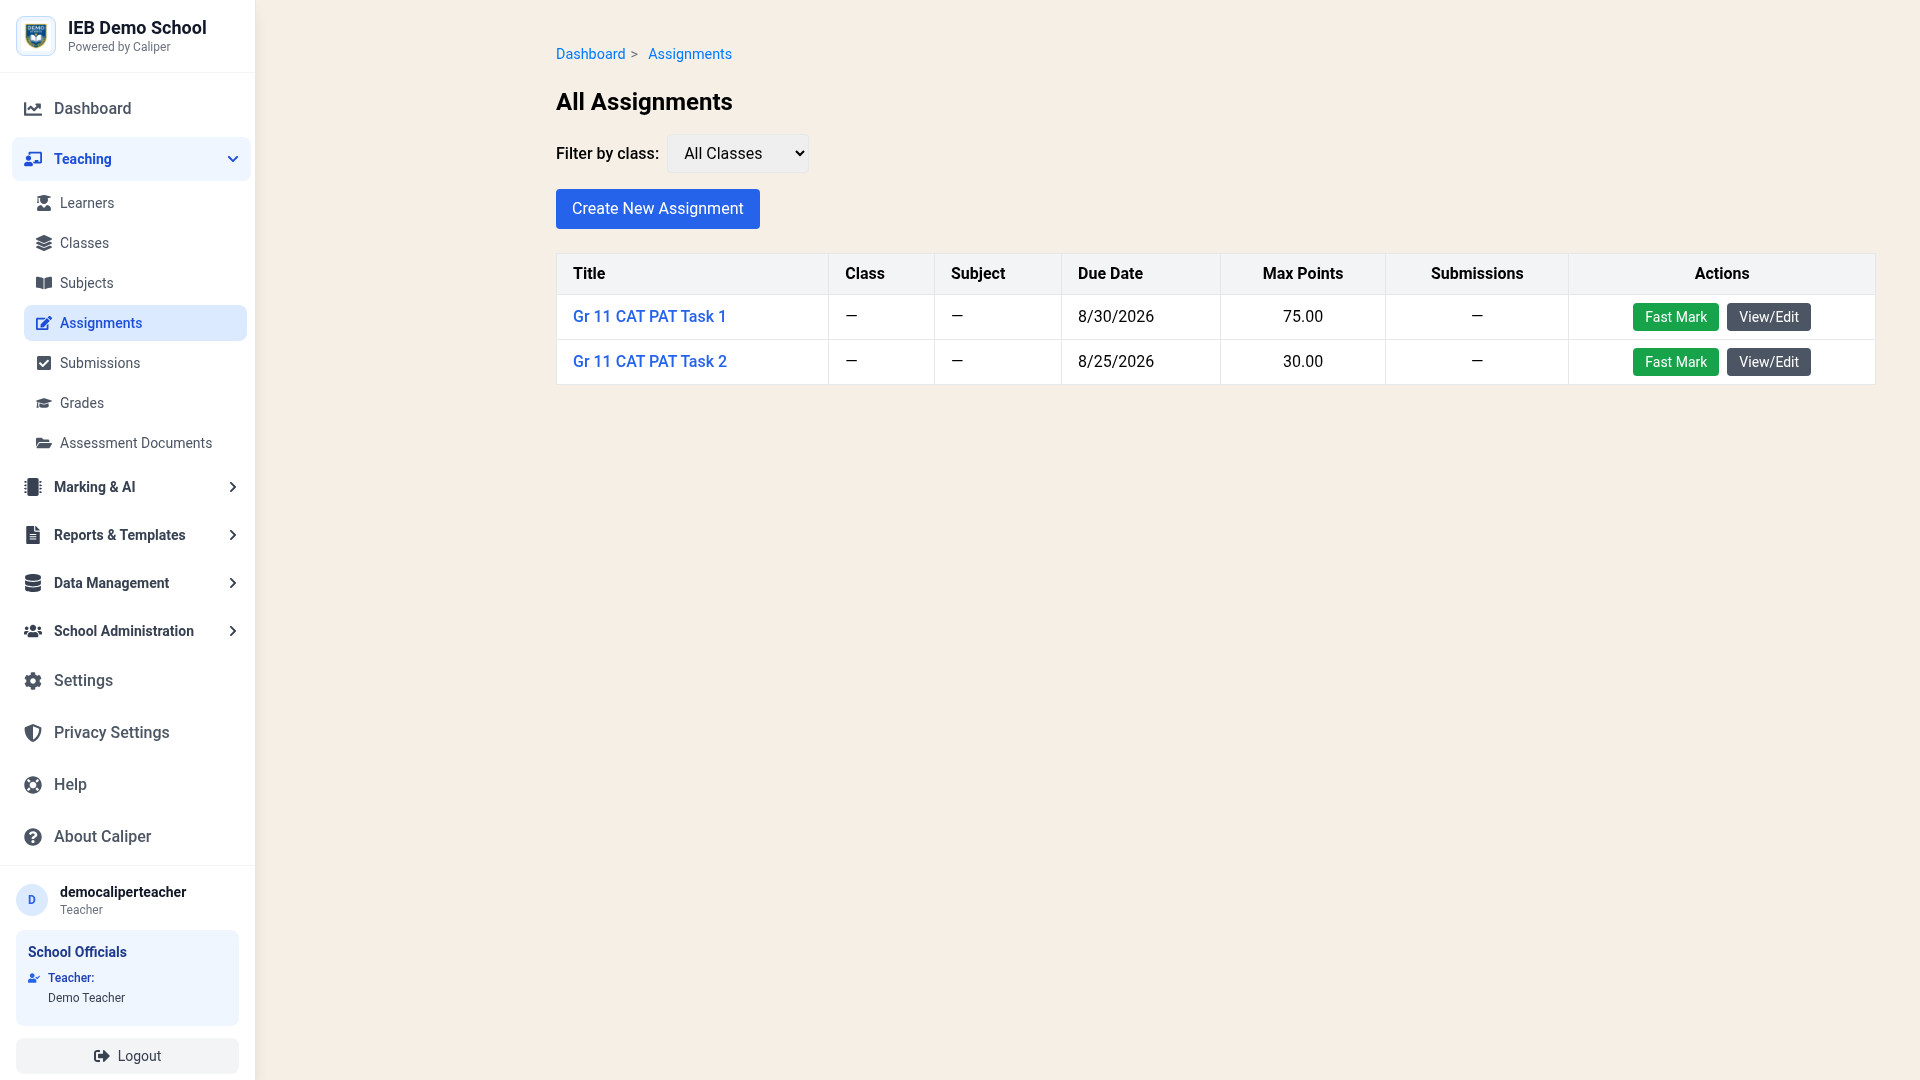 The Assignments page showing all your assignments with the Create New Assignment button
Step 2: Fill in Basic Information
Title
- Use clear, descriptive titles
- Include the topic or skill being assessed
- Example: "Python Functions - Grade 10"
Description
Provide students with:
What they need to submit
File format requirements
Any special instructions
Example:
Submit a Python program that demonstrates:
- Function definition and calling
- Parameters and return values
- Proper documentation with docstrings

Submit as a single .py file or PDF with code and screenshots.
Due Date and Time
- Set realistic deadlines
- Consider time zones
- Allow buffer time for technical issues
- Recommended: Set deadline to end of school day
Maximum Points
- Align with your grading scale
- Match your rubric's total points
- Common values: 50, 75, 100
Step 3: Assignment Configuration
Assign to Class
- Select the class from the dropdown
- Only classes you teach will appear
- Students in that class will see the assignment
Assignment Type
Choose the appropriate type:
- Practical Assignment: Code, projects, hands-on work
- Theory Assignment: Written responses, essays
- Project: Long-term, multi-part assignments
- Test: Formal assessments
- Exam: High-stakes evaluations
Submission Format
Select expected file type:
- PDF: Best for mixed content (code + explanations)
- ZIP: For projects with multiple files
- Code: For single programming files (.py, .java, etc.)
- DOCX: For written assignments
- Image: For diagrams or screenshots
Step 4: Link Assessment Rubric (Recommended)
- In the Assessment Rubric dropdown, select your prepared rubric
- If no rubric exists, you can create one later
- Rubrics enable:
- Consistent AI marking
- Criterion-based feedback
- Transparent grading standards
Create your rubric before the assignment to ensure AI marking works optimally from the start!
Step 5: Save and Publish
- Review all settings carefully
- Click Create Assignment
- Assignment is now visible to students in the selected class
Post-Creation Steps
Verify Assignment is Live
- Navigate to the class page
- Confirm assignment appears in the assignments list
- Check due date displays correctly
Test Submission Flow (Optional)
- Create a test student account
- Log in as student
- Verify assignment appears
- Test file upload process
Share with Students
- Announce assignment in class
- Send reminder via school communication channels
- Clarify any questions about requirements
Best Practices
✅ Do's
- Write clear descriptions with specific deliverables
- Set reasonable deadlines (at least 1 week for major assignments)
- Use rubrics for all graded assignments
- Test upload process before student deadline
- Provide examples of good submissions when possible
❌ Don'ts
- Don't set deadlines too tight (less than 24 hours)
- Don't change requirements after students start
- Don't forget to link a rubric if using AI marking
- Don't use vague descriptions like "Do the assignment"
- Don't accept all file types indiscriminately
Advanced Features
GitHub Integration
- Enable automatic backup to student repositories
- Maintain version history of submissions
- Create professional portfolios
Late Submission Policy
- Configure grace periods if needed
- Set penalties for late work
- Track submission timestamps
Resubmission Settings
- Allow students to resubmit (if enabled)
- Track version history
- Compare multiple attempts
Troubleshooting
"Class dropdown is empty"
Solution: Create a class first before creating assignments
"Rubric not appearing"
Solution: Ensure rubric is created and active. Refresh the page.
"Students can't see assignment"
Solution:
- Verify correct class selected
- Check student enrollment in class
- Confirm assignment is saved and published
"File upload fails"
Solution:
- Check file size limits (typically 50MB max)
- Verify file format matches assignment settings
- Ensure stable internet connection
Next Steps
- Creating Effective Rubrics - Build assessment criteria
- Understanding AI Marking - Learn how AI evaluates work
- Fast Mark Interface - Speed up your marking workflow
Need Help?
- 📧 Email Support: info@restrat.co.za
- 📚 Teacher Guide: Full Documentation
- 🔗 Platform: caliper.restrat.co.za